
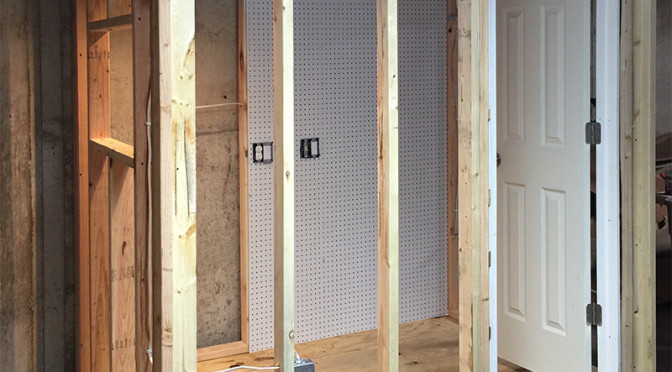

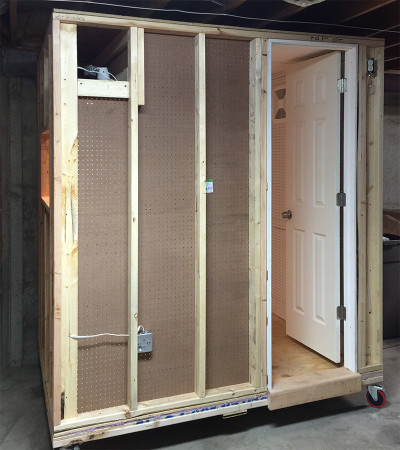
Once the frame was up, I elected to sheath the interior with perforated pegboard prior to any wall finish or insulation. Peg board is inexpensive and there are plausible arguments around which give an edge to a perforated surface because it breaks sound waves differently than a flat surface. The door was inexpensive but solid, not hollow. A hollow door will act as a drum surface and amplify sound
.
Some finishing touches were added at this time, such as a threshold and the electrical. I chose LED recessed lights because of their lack of additional heat buildup in our enclosed structure. One reason for the choice of a below ground level location was the cooling effect of the surrounding concrete, avoiding the necessity of any active cooling other than a fan.
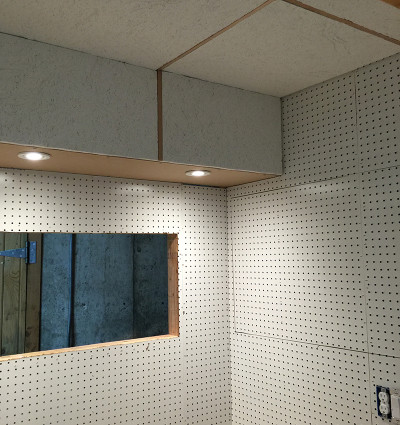
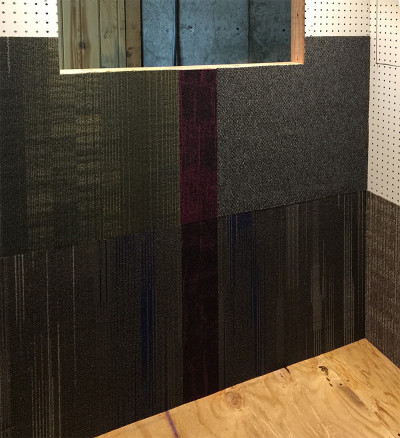
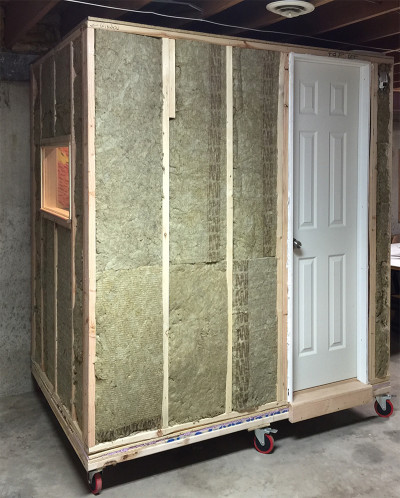
You can see that we have added a window, positioned just in front of the microphone location. A window allows communication with the occupant of the studio but also can add a significant visual interest, as you will see later. Any sound escaping past the absorbent barrier behind the microphone will be reflected toward the rear and absorbed by large panels on the rear wall. Yes, a better design is to avoid any flat reflective surfaces such as are found in a rectangular design like this one. However, this design is easier to construct, cheaper and works very well as it is. The next step is to provide an absorbent but attractive interior. Tile squares are inexpensive and may be mounted by contact adhesive. Some cutting is required but the work goes quickly.
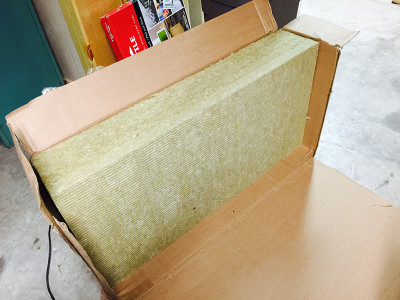
The next step is to isolate the booth by using sound absorbent insulation on the walls, placed from the outside. I chose Roxul Safe’n Sound in 2’x4’ by 3”. Four bags were enough to insulate all the external walls and to construct several interior sound absorbent panels, to be described in another blog.
More later,
Alexander Francis